Emergency Roof Repair: What To Do First When Water Is Coming In
A clear first-hour action plan for active roof leaks in North Jersey, including safety steps, temporary containment, and when to call for emergency tarping.
The first five minutes: safety before anything else
If water is actively coming through your ceiling, the first move is to get anyone away from the immediate area, especially if the water is near any electrical fixtures, outlets, or a light fixture. Water and electricity together are a real hazard, and if you see water pooling near an outlet or dripping onto a fixture, shut off power to that circuit at the panel if you can do so safely.
Next, check for any signs the ceiling itself is failing structurally, such as visible sagging, a bulge that is growing, or cracking sounds. A ceiling holding a significant amount of trapped water can collapse, so if you see a bulge forming, it is safer to relieve the pressure than to wait it out.
Once the immediate safety check is done, move quickly to protect the room. Pull furniture, electronics, and anything valuable away from the affected area, and roll up rugs if water is spreading across the floor.
Contain the water before it spreads
Place a bucket, trash can, or any large container directly under the drip, and set a towel or tarp around it to catch splashes. If the leak is spread across an area rather than a single drip point, a plastic tarp or painter's plastic taped up to funnel water toward one collection point can limit how far it spreads across the floor.
If you see a bulge in the drywall where water is clearly pooling above the ceiling surface, puncture the center of the bulge with a screwdriver or similar tool while holding a bucket underneath. This sounds counterintuitive, but it is far better to release trapped water in a controlled way than to have an entire section of wet drywall come down on its own, potentially with more water and more force than expected.
Keep a fan or dehumidifier running in the room afterward if you have one, since drying out the area quickly reduces the chance of mold developing in the affected drywall, insulation, or flooring.
Do not go on the roof yourself
It is tempting to want to find and fix the source immediately, but climbing onto a wet or storm-damaged roof is genuinely dangerous, and it will not usually fix the underlying issue anyway. Roof leaks are rarely a simple patch job you can do correctly from a ladder in the middle of an active storm.
If the leak happened during high winds or a storm that is still ongoing, wait until conditions have calmed before anyone, including a professional crew, gets on the roof. A temporary interior fix and containment is the right move until the weather clears enough for a safe repair.
Document the damage as it happens
While you are managing the water, take a few minutes to photograph the active leak, including where the water is dripping from, how much has collected, and any damage to the ceiling, walls, or floor. A short video showing water actively dripping is useful documentation that a photo alone does not always capture.
Note the time you first noticed the leak and, if you know it, roughly when the storm or heavy rain started. This timeline can be useful both for your own records and if you decide to file an insurance claim later.
Once the immediate emergency is handled, photograph the exterior of the house and roof from the ground if it is safe to do so, since exterior damage like a missing shingle or damaged gutter often correlates with where the interior leak originated.
When to call for emergency tarping
If the leak is significant, ongoing, or came from an obvious opening such as a fallen branch or a large area of missing shingles, emergency tarping is the right next call rather than waiting for a scheduled repair appointment. A properly installed tarp secured under the shingle courses above the damage, not just laid on top, keeps wind-driven rain from getting underneath it during the next storm.
Emergency tarping is meant as a temporary measure to stop further interior damage while a permanent repair is scheduled and, where applicable, insurance is contacted. It is not a substitute for the actual repair, and a tarp left up for an extended period will eventually need to be replaced or the underlying repair completed.
We provide emergency tarping in the Garfield area and surrounding North Jersey towns specifically for these situations, so the interior damage does not compound while you wait for a full repair to be scheduled.
After the emergency: what comes next
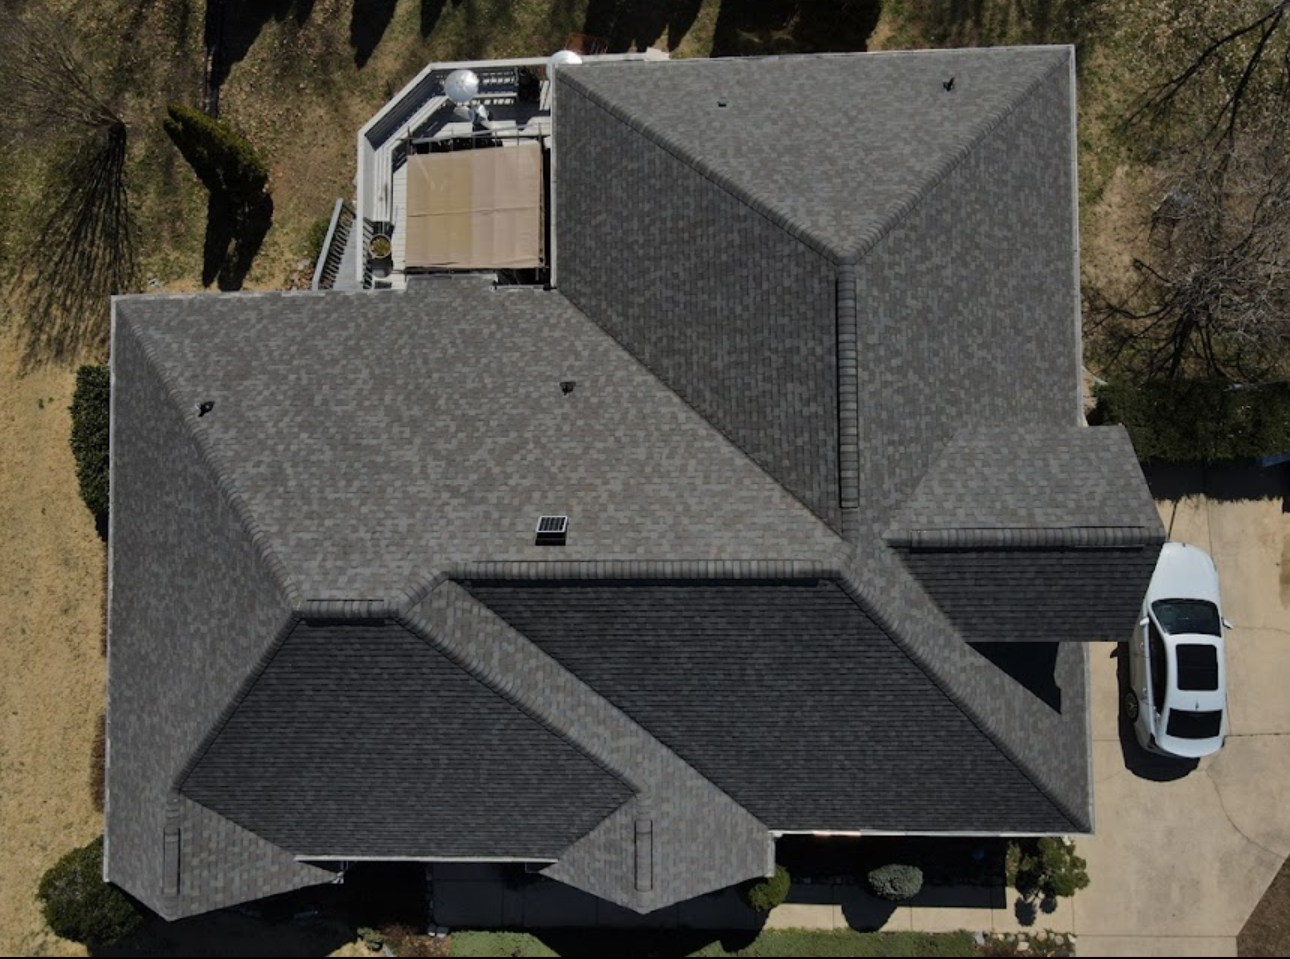
Once the active leak is contained, schedule a full roof inspection to identify the actual cause rather than just addressing the visible symptom. A free drone roof inspection lets us document the full roof surface and pinpoint the failure without unnecessary foot traffic on a roof that may still be compromised.
You should receive a written estimate within 24 hours of that inspection, which allows you to move quickly from emergency containment to a scheduled, permanent repair. Most single-point emergency repairs fall in the $450 to $2,500 range as a planning estimate, though the scope depends on what caused the leak and how much interior work is also needed.
Keep your photos, videos, and any receipts for temporary supplies like tarps or buckets together in one place. Whether or not you pursue an insurance claim, this record is useful if similar damage happens again or if you want a clear history of the repair for future reference.
Questions homeowners ask us on the phone
What is the first thing I should do when my roof is leaking during a storm?
Move people and belongings away from the area, especially near electrical outlets or fixtures, and place a container to catch the water. If a ceiling bulge is forming from trapped water, carefully puncture the center of it to release the water in a controlled way rather than letting it collapse on its own.
Should I go on my roof to find the leak during a storm?
No. Climbing onto a wet, windy, or storm-damaged roof is dangerous and rarely leads to an effective fix in the middle of a storm anyway. Focus on containing the water inside and wait for conditions to calm before anyone gets on the roof to inspect or repair it.
What does emergency roof tarping actually do?
A properly installed emergency tarp is secured under the shingle courses above the damaged area, not just laid on top, so it keeps wind-driven rain out while a permanent repair is scheduled. It is a temporary measure meant to stop further interior damage, not a substitute for the actual roof repair.
How much does emergency roof repair cost in New Jersey?
Most single-point emergency repairs fall between $450 and $2,500 as a planning estimate, depending on the cause and how much interior damage also needs addressing. The exact cost depends on the inspection findings, and you should receive a written estimate within 24 hours of that visit.
Is it okay to puncture a water-filled bulge in my ceiling?
Yes, this is a recommended emergency step. A ceiling bulge means water has pooled above the drywall, and releasing it in a controlled way with a screwdriver and a bucket underneath is safer than letting the weight of the water cause the ceiling to collapse unpredictably.
Run your roof size, material and pitch through our New Jersey roof cost calculator for a planning range in about 30 seconds, then call +1 (201) 994-8577 for a free on-site inspection and written estimate.
Call +1 (201) 994-8577